Introduction
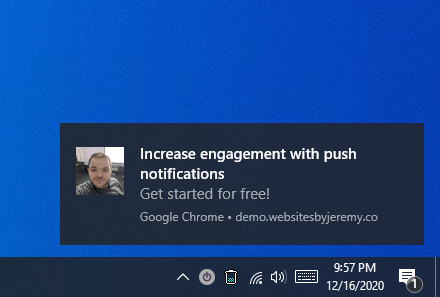
Push notifications are a great way to grab your customer’s attention and increase engagement on your website. They show up on your customer’s mobile devices or desktop computers and tend to have a much higher click-through rate than email. Best of all, you can send out an instant notification to your subscribers in as little as 5 minutes once you have your account set up.
Want me to setup push notifications for you? Click here!
My preferred push notification provider
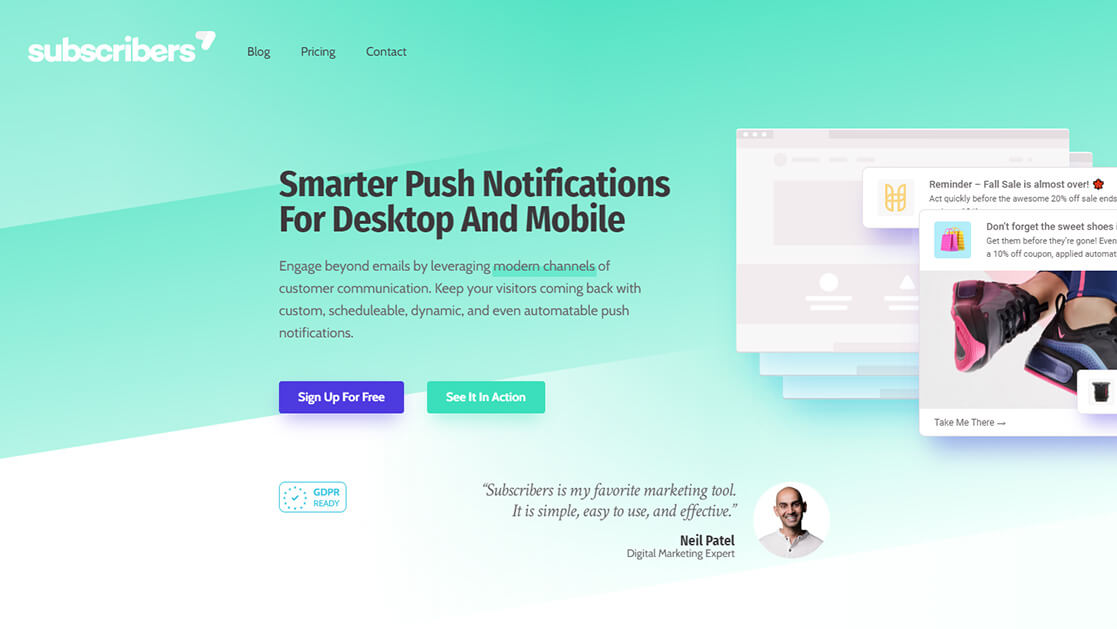
Subscribers.com is one of the easiest and cost-effective push notification providers that I’ve found and it’s what I use on my website here at Websites by Jeremy. Their simple interface makes composing, sending, and tracking your push notifications a breeze!
Subscribers Pricing Overview
Subscribers has a free plan that is great for businesses who want to send one-time notifications. Their paid plans allow you to schedule notifications, set up abandoned cart notifications, and send notifications in your customer’s time zone.
Free
forever- Push to Chrome
- Push to Firefox
- Desktop & Mobile supported
- Basic customer support
- Recurring notifications
- Welcome drip campaigns
- Advanced customer support
- Push on AMP sites
- Schedule notifications in advance
- Schedule notifications in subscriber’s timezone
- Push to Safari
Growth
$29 per month- Push to Chrome
- Push to Firefox
- Desktop & Mobile supported
- Basic customer support
- Recurring notifications
- Welcome drip campaigns
- Advanced customer support
- Push on AMP sites
- Schedule notifications in advance
- Schedule notifications in subscriber’s timezone
- Push to Safari
Elite
$99 per month- Push to Chrome
- Push to Firefox
- Desktop & Mobile supported
- Basic customer support
- Recurring notifications
- Welcome drip campaigns
- Advanced customer support
- Push on AMP sites
- Schedule notifications in advance
- Schedule notifications in subscriber’s timezone
- Push to Safari
Pricing pulled from subscribers.com on 12/16/2020
Note: Apple does not currently allow push notifications on their mobile devices. Safari push notifications will only work on desktop devices.
How to get started with Subscribers
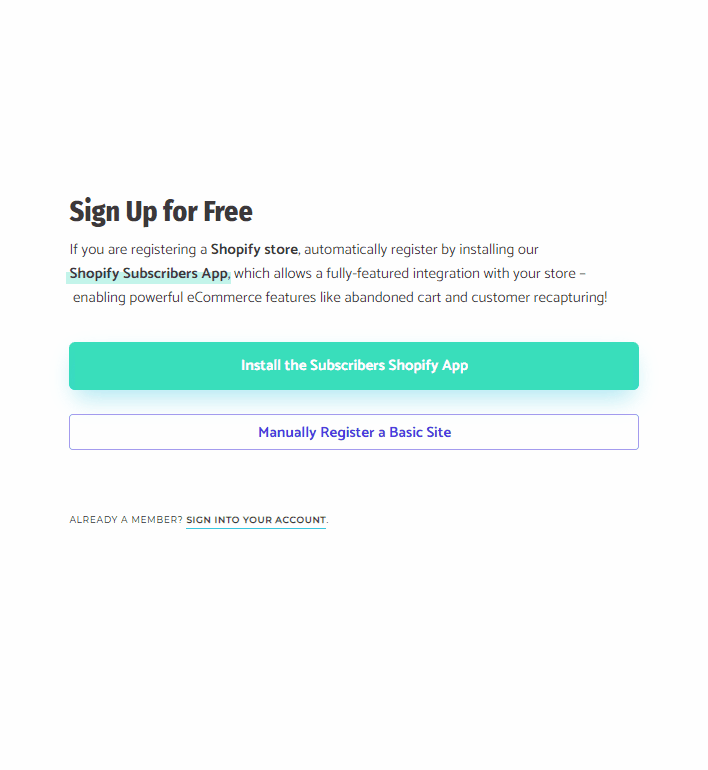
Step 1: Signup for a free account
If you are ready to start sending push notifications with Subscribers.com, simply signup for a free account and select the option to “Manually Register a Basic Site“.
Step 2: Enter your basic Site Info
Default Notification Icon – You can create your notification icon using a free tool such as Canva. The recommended image size is 192px by 192px.
Site Name – This is for your own internal use. I always put the web address here.
Preferred Timezone – Select your timezone.

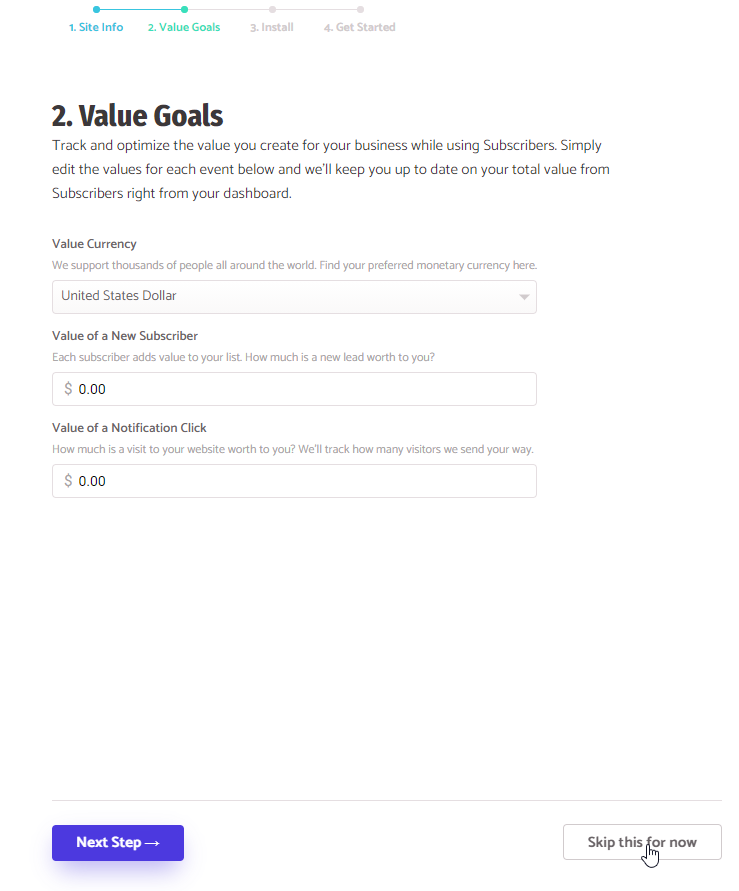
Step 3: Set Value Goals (Optional)
You can track and optimize the value created through push notifications with Value Goals. The values that you enter will depend on your industry, your target market, and how you measure your Customer Lifetime Value. I recommend skipping this step.
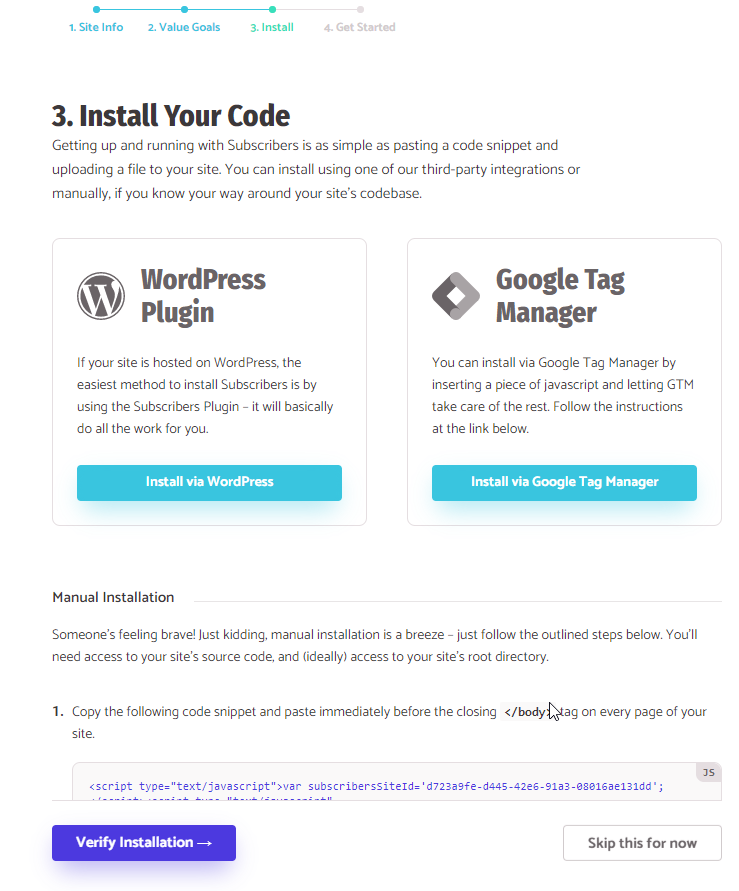
Step 4: Install the code
This is the most complicated step, which is why I recommend handing this off to your web designer or web developer. If you want to do this on your own, I recommend using the WordPress Plugin option to install the Subscribers code onto your website. You’ll also have to download a Service Worker file and upload it to your website.
Once you have the plugin set up and the Service Worker file uploaded, click on the “Verify Installation” button to make sure everything is working.
Step 5: Send your first notification
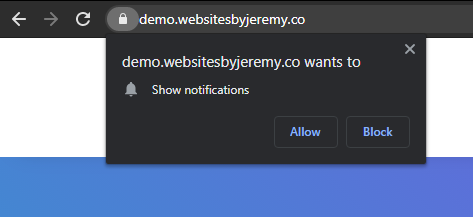
First and foremost, log out of your website if you are logged in. Then, visit your homepage and wait a few seconds until you see the Push Notification pop-up. Then, click on “Allow” to subscribe yourself to your Subscribers account.
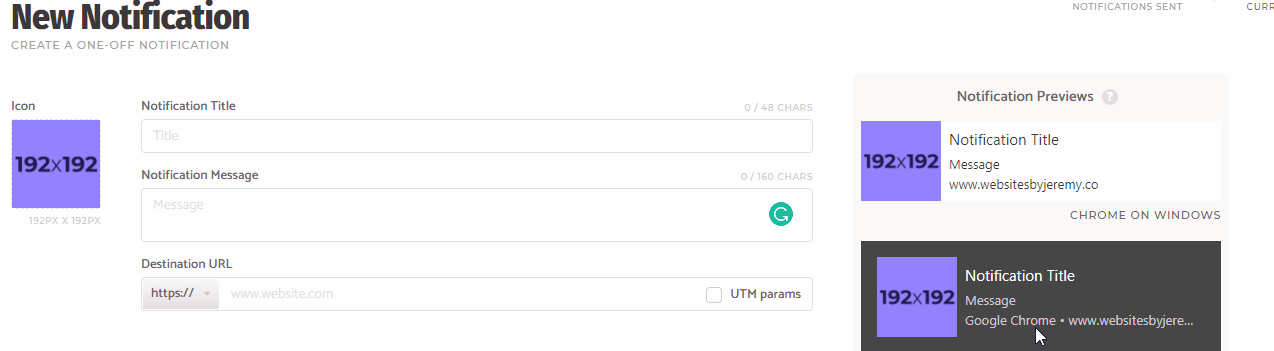
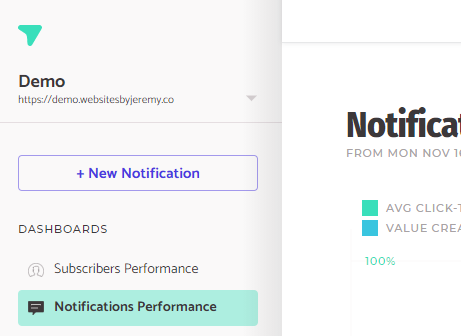
Click on the “+ New Notification” button located in the top-left corner of your Subscribers dashboard.
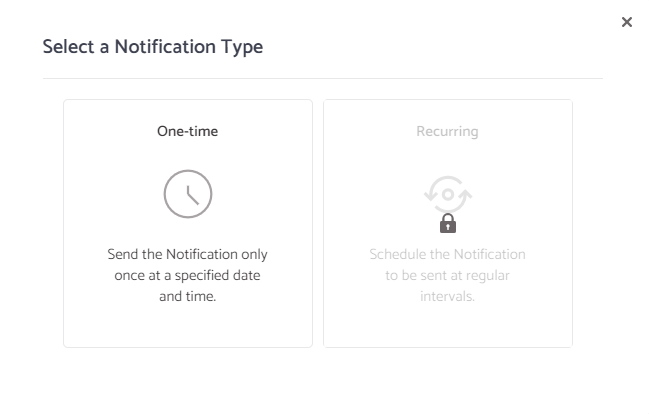
Then, choose the notification type. If you are on the free plan, you’ll only have the option of sending a One-Time notification.
Give your notification a title. You can enter up to 48 characters, so keep this short and to the point.
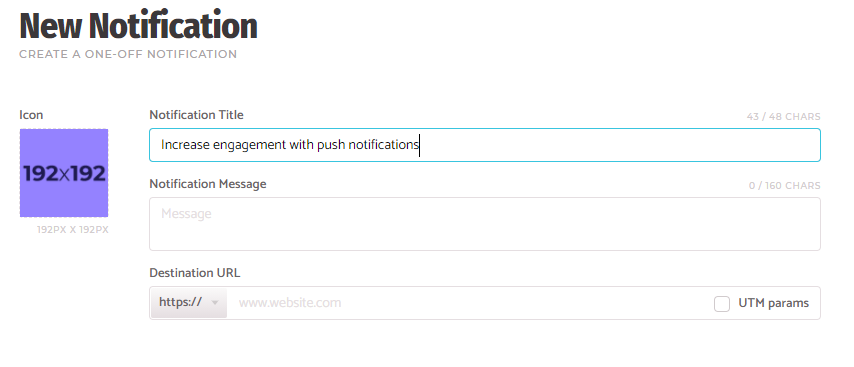
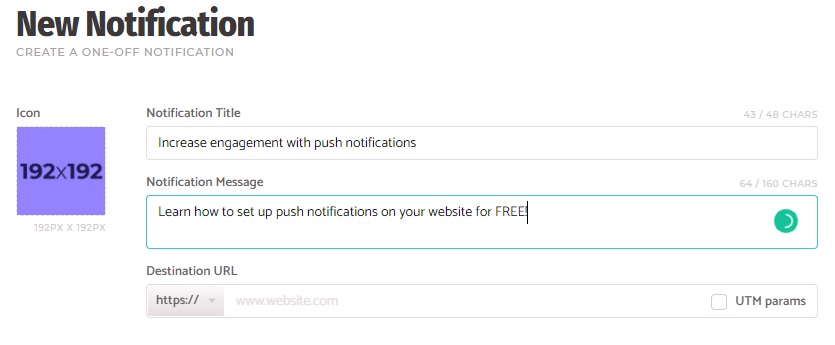
Enter your Notification Message, which appears below the title.
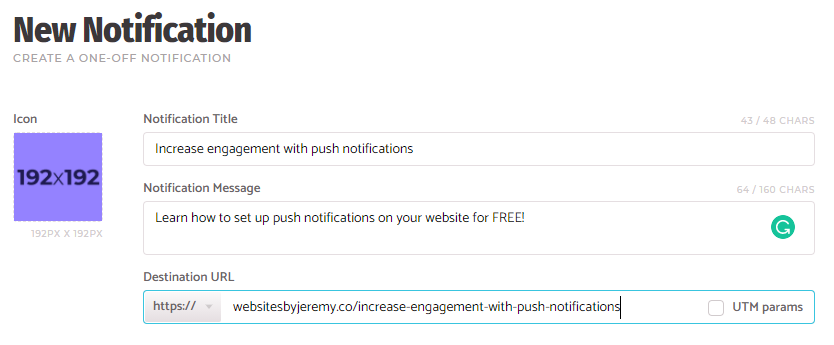
The Destination URL is the web address that you want people to be taken to when they click or tap on your notification. Make sure you select the “https://” prefix.
Select your Notification Icon. Your icon should be 192×192 pixels in size.
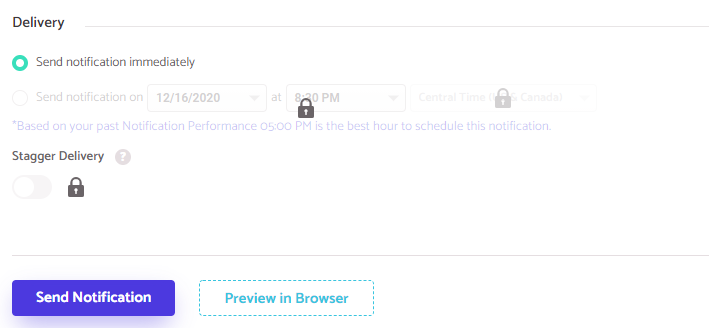
Select a delivery option. If you are on the free plan, you’ll only have the option of sending your push notification immediately.
Finally, double check your Title, Description, Destination URL, and Icon before clicking on the “Send Notification” button.
You should see your push notification appear on your device in a few minutes!